Triangulation!

Triangulation.. Finally! Want it so bad for a semester. Luckily having a winter break to do it. Have a lot of rooms for improvement but still, one step further!

*UPDATE*(in the middle of writing this post UGH)

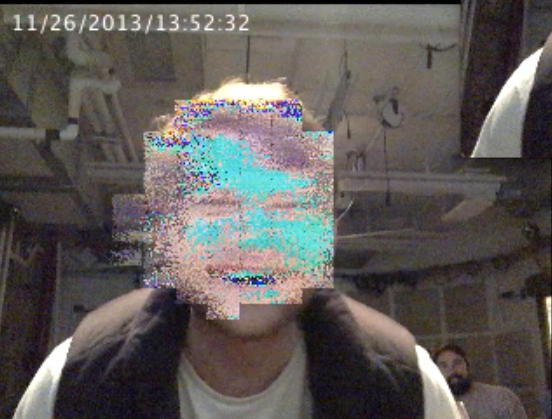
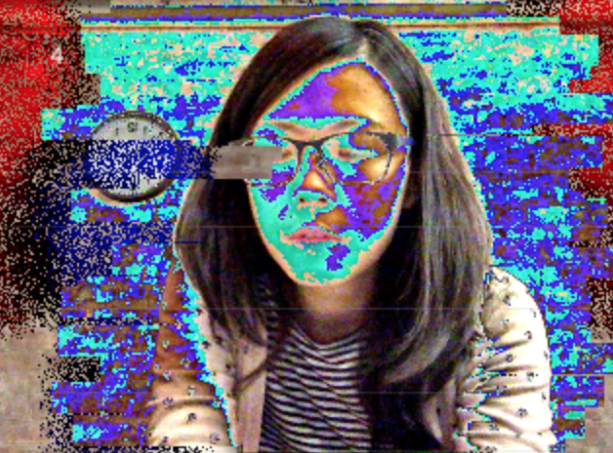
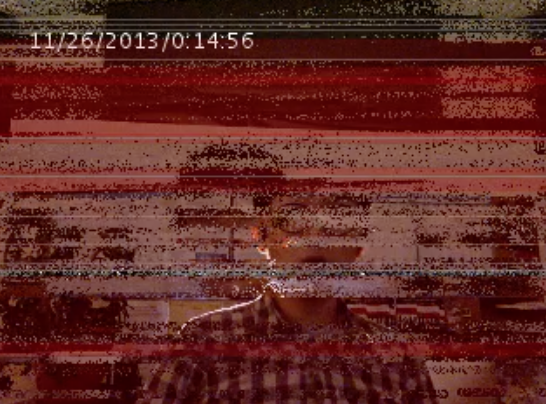
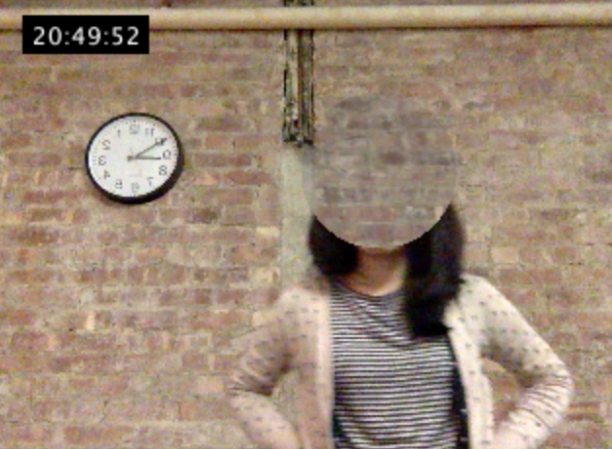
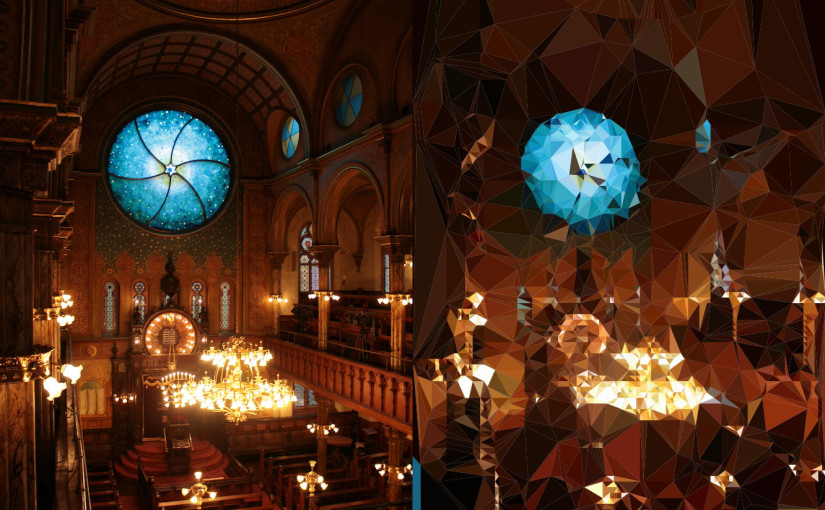
New version. Normal speed!

In the middle of documentation, the ill performance, both low speed running and wrong color picking bothered me a lot, so I went through the whole codes again and making adjustment around. And then I found out what the problem is! It’s the random plotting of points for triangles! It not only slows down the process, but also causes the ill performance of choosing the right color for the triangle. OH YEAH SO HAPPY. It’s the similar “bitter yet sweet moment” I usually will have when coding… I think I’m ready for the new semester!

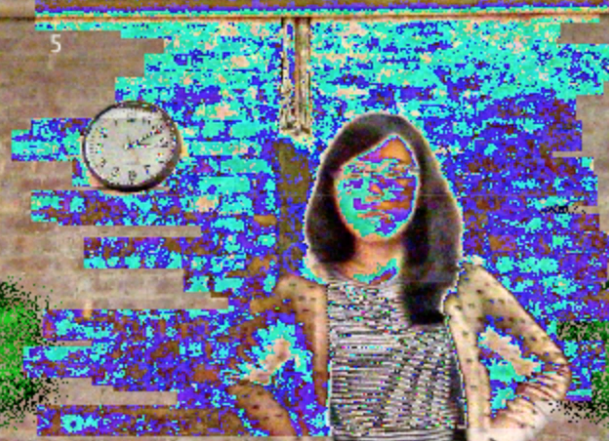
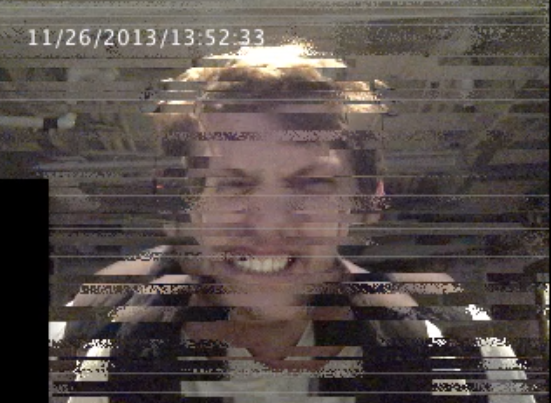
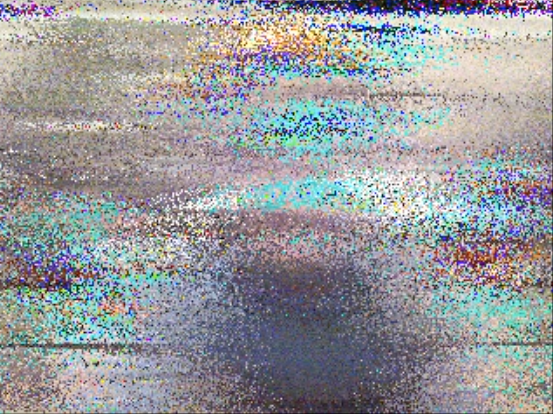
Old version. x3 speed! Slow and chaos.

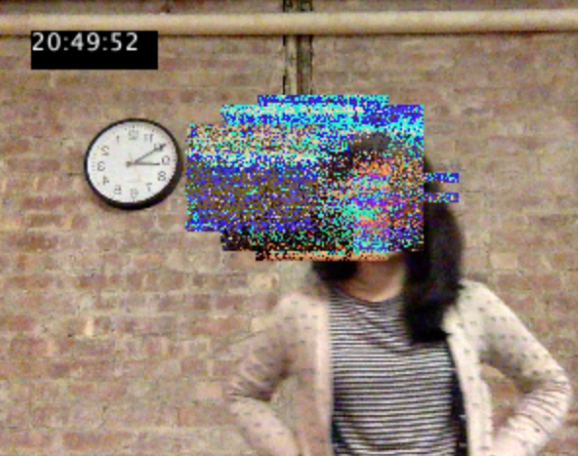
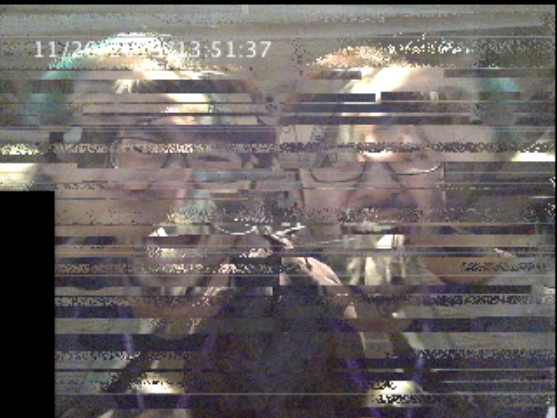
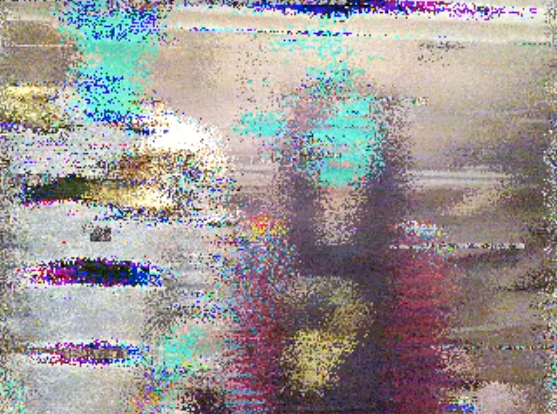
Old Line version. Slow but it seems to have better outcome with the random plotting points methods!!
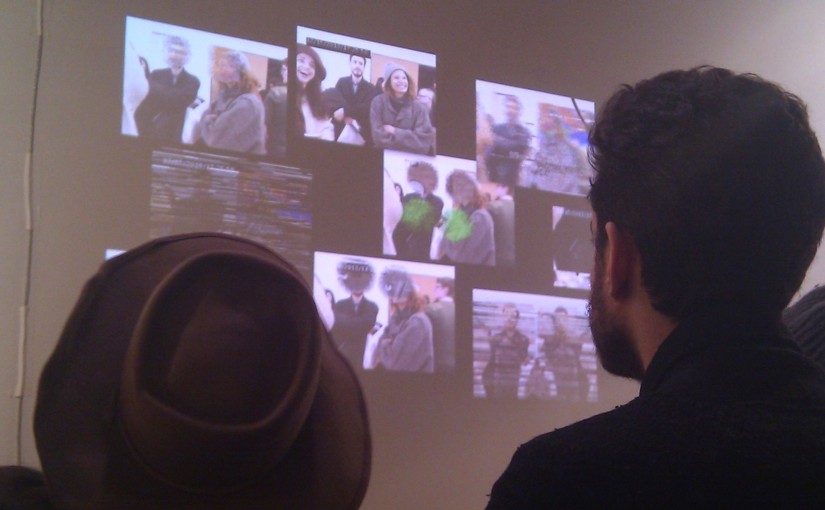
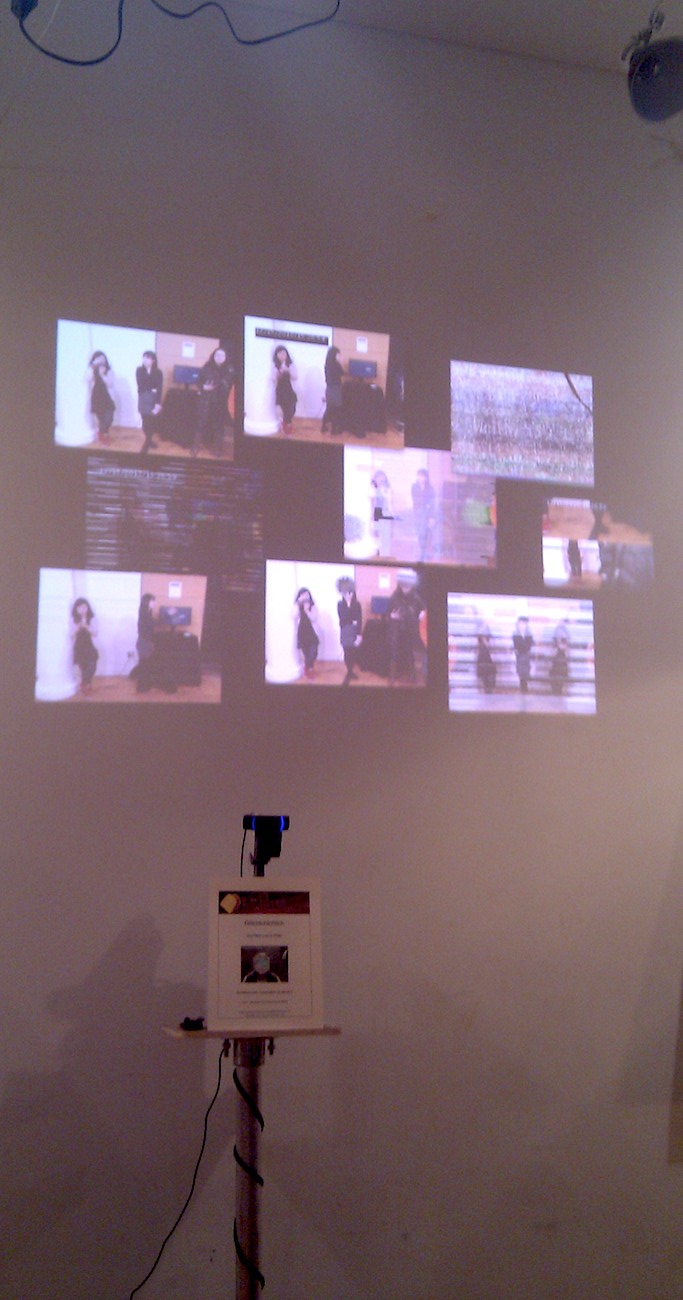
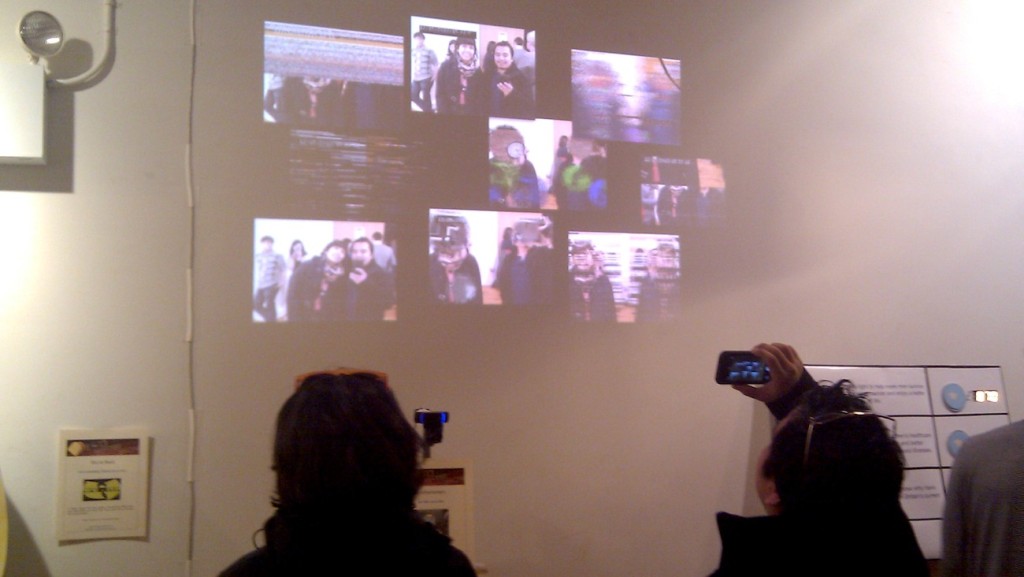
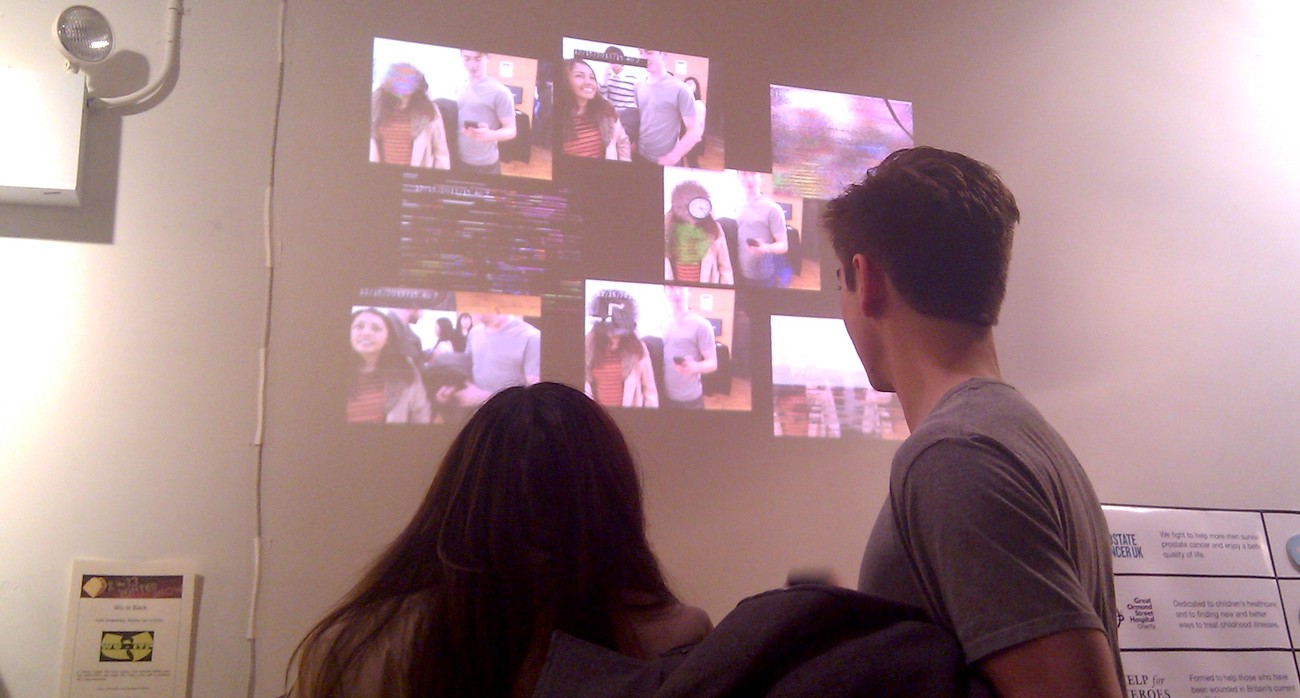
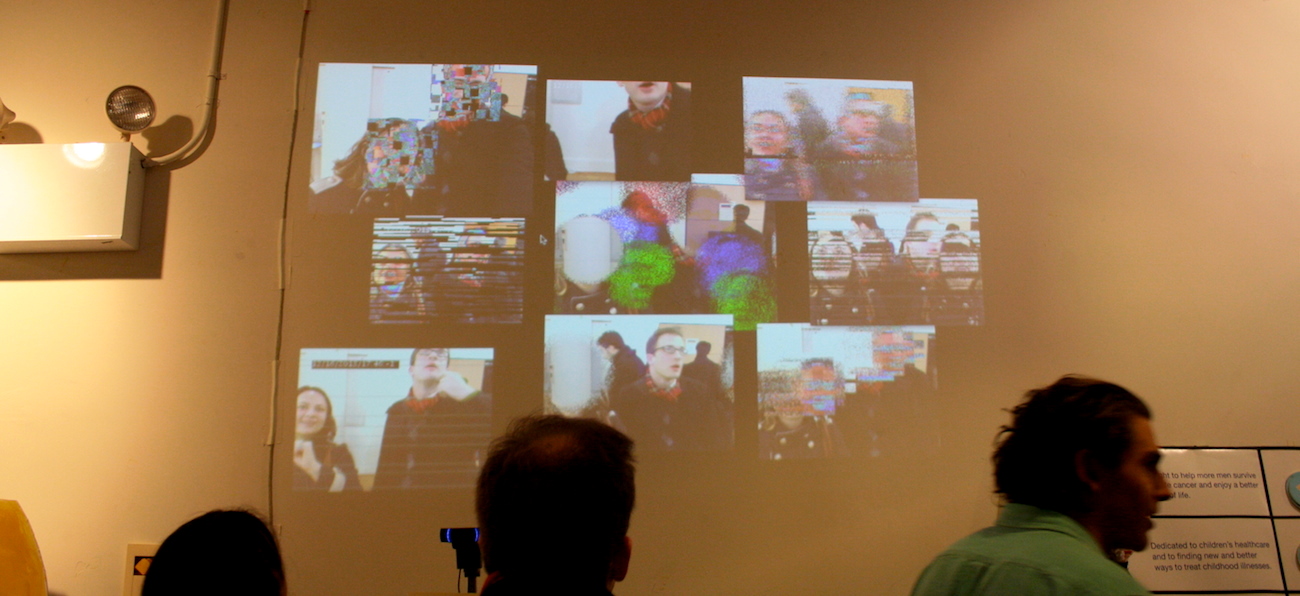
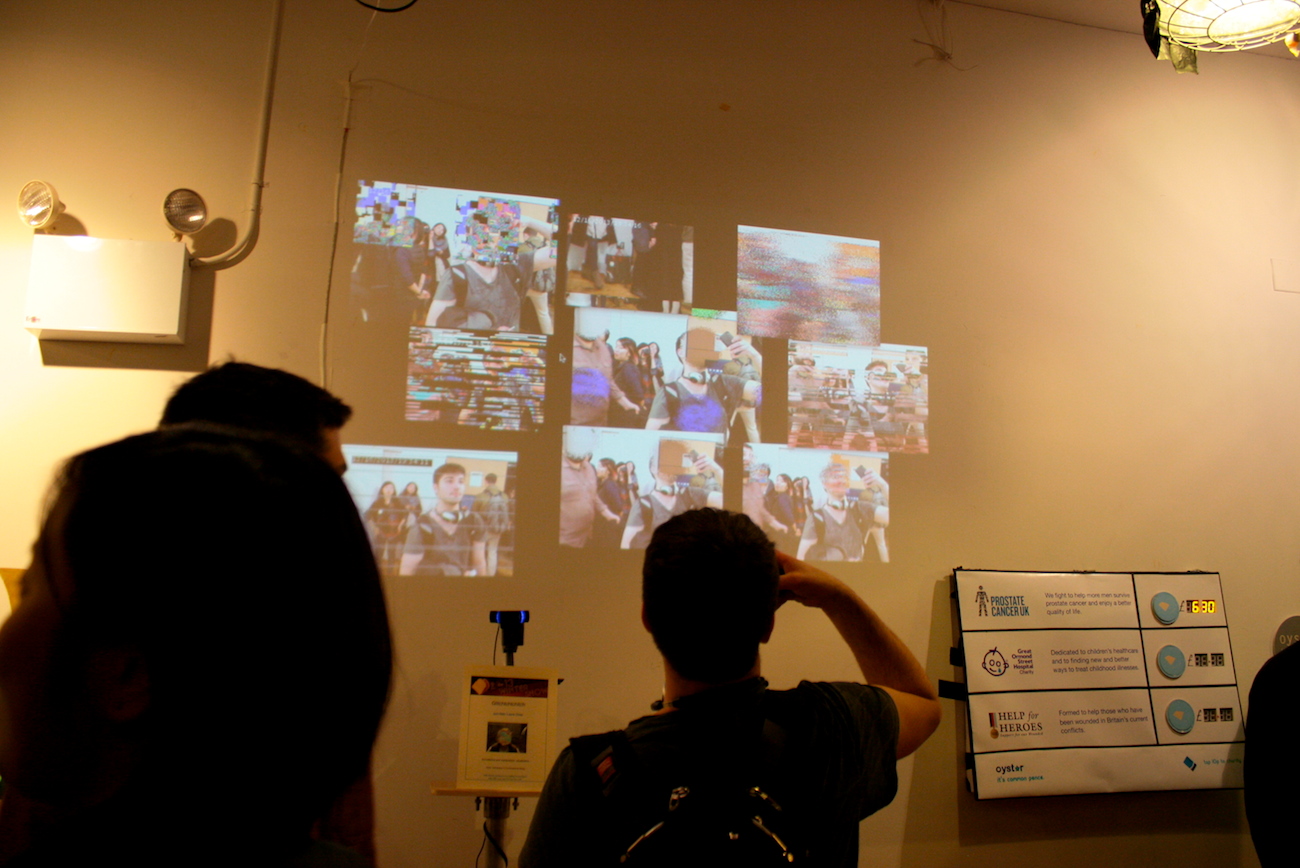
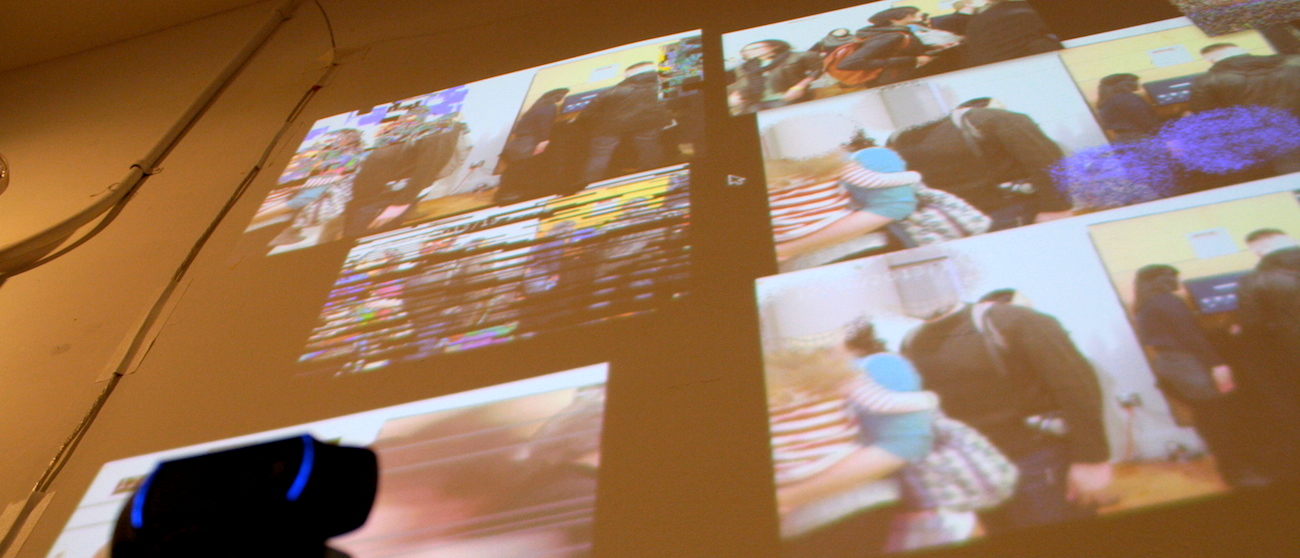
 

Image Gallery

colorV20252line544outcome06 outcome01 outcome04 outcome02 outcome03 outcome05 outcome07


Basic idea of code

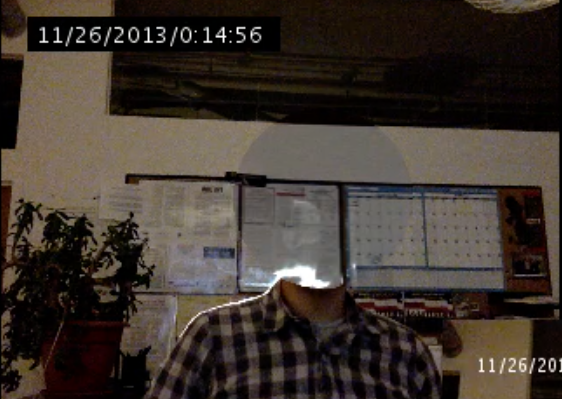
  1. capture image from webcam and save as PImage source
  2. iterate through source, pick up every pixel, compare either a) colors or b) brightness difference(I found comparing by colors will be more accurate).
  3. if the difference is bigger than certain threshold, plant a point in class Voronoi. Voronoi does all the calculation to transform points into triangles.
  4. for each triangle gotten out from Voronoi, using getCentroid() to pickup the color to fill the triangle built up with beginShape(), endShape() and vertex().
  5. wipe out Voronoi and build a new one every 10 frames to speed up the performance.


References

  • from Robbie Tilton. ITP alumnus! This is where my base came from! Clear description made me not afraid of trying the code out! From him, I got the idea of using Cols and Rows to boost up the performance, and plotting points for triangles with a random deviation of 5 pixels to make it look less grid-like(BUT randomness is not good for picking color, and it also slows down the performance).
  • from Jan Vantomme. Very well documentation! From him, I learned the difference between getCentroid() and getSites(), and also learned that, since getCentroid() and getSites() don’t return the voronoi regions and points in same order, to fill the right color for right position it has to be looped to iterate through, picking and filling up the color at the same time.


Inspiration & Further


Code, as below: Continue reading

Quick notes after Winter Show 2013

Dope Ropes

doperope

Feedback

  • “Is it NIME? Just PComp? Wow good job guys, amazing!”
  • “What does it do?”
  • “Wow I like that, check this out, this is my favorite!”
  • “Why do you choose those sounds?”
  • advices for the ropes attachment
  • very satisfying when pulling
  • bell instrument
  • “Are they sex tool ropes?”
  • pretty on and off switch LED
  • “LED is fun.”
  • Are you a musician?
  • Can you compose song with this?
  • Using headphones for this.
  • Speakers can be located separately for each set.
  • People are afraid they’re going to pull it down; afraid to pull in the beginning

Aftershow Notes

  • too high to adjust, all the wires need to be glued to be stable
  • xbee data sending –> glitch!
  • pulling instrument –> potential, because it’s rare. The only association people have is ringing the bell.
  • people seems more related to recognizable sample sounds
  • pitch changing one needs to be more subtle and gentle
  • Pulling demonstration helps people understand


Glitchtchtchitch

glitchtchtchitch

Feedback

  • some just pass by
  • some enjoy it, standing for a long time and coming back later
  • people feel more comfortable when I’m not beside the stand
  • watching –> realizing –> smiling –> seeing EyesMouthes –> laughing
  • “Ha. Big brother is watching.”
  • “How do you say this title?”  “I see. Sounds like what they look like.”
  • “Fun” “Very interesting”
  • “Hmm”
  • “What should I do?” “How does it work?”
  • “Can I take picture with it?”
  • “Can I record this?”
  • people wave at the camera
  • “It’d be cool if it can detect me smiling”
  • interested in how it works
  • “I want to take this home and put it in my room.”

Aftershow Notes

  • If it’s workable would be more interesting to open more sketches
  • Ideally two computers with 4 projectors!
  • can add more interaction function e.g. detect smile and laugh
  • more knowledge about surveillance and psychology of people’s react with it

ICM_Glitchtchtchitch

ICM Final– Glitchtchtchitch.

Manipulation and surveillance visualization.

Featured in ITP Winter Show 2013(See all the pics!).

Glitchtchtchitch is a live interactive installation showing multiple short-lived fault in a system. By bringing out the imperfection of technology with massive pixels manipulation, sound distortion, and multiple screens display, Glitchtchtchitch visualize the transient fault and the incapability of communication. Although mainly sending serious messages, with the effect of headless illusions, heads displacement, and delay, it leaves audience undergoing an experience without too much pressure.

Glitchtchtchitch is presented by running more than 10 Processing sketches at the same time, and using 2-3 projectors to increase the amount of screen, the variety, and increase the level of distortion.


Main idea –>  In order to cubify heads, instead of just altering pixels, I made an object “Cube” to get, restore, alter, and display the pixels of specific range. Also to achieve the headless effect, besides the library OpenCV, I took a background image beforehand, and display its pixels within certain ranges, once detecting a face. ALL THE SOURCE CODES


Notes

  • Speed issue has room for improvement.
  • Different scale presentation style(projectors included) looks nice.
  • From user test and presentation feedback, people love headless and delay effect the most. Because they’re the most bizarre, unrealistic, and uncommon visual impact.

Problems with solutions

  • OutOfBounds —> constrain(xxx, 0, numPixels-1)
  • flip horizontal —> video.width-fx-1
  • can’t cover image with pixels[ ] —> solved by using pixels for both
  • improve the sketch speed —> P2D, PFrame,
  • connect to webcam? PS eye? —> camera list, example

References

  • scale PImage http://stackoverflow.com/questions/17705781/video-delay-buffer-in-processing-2-0
  • Minim noise http://code.compartmental.net/tools/minim/manual-noise/
  • hide menu http://processing.org/discourse/beta/num_1224367967.html

Original proposal –> Here.

http://jhclaura.com/Glitchtchtchlitch_proposal/Glitchtchtchlitch_proposal.pdf

ICM_Faking multi-window display mode! (update)

black desktop!

black desktop!

(Update_11/25)

Find the way to move menu-hidden sketch window!

import java.awt.MouseInfo;

// do whatever you want

int mX;
int mY;

void mousePressed() {
  mX = mouseX;
  mY = mouseY;
}

void mouseDragged() {
  frame.setLocation(
  MouseInfo.getPointerInfo().getLocation().x-mX,
  MouseInfo.getPointerInfo().getLocation().y-mY);
}

reference from here.

————————————————————————————-

Found the Plan-Z to present my Glitchtchtchitch final– make my desktop all black and  hide the title bar of all my sketches!!! It’s a dumb way I know… but at least it works!

codes for Processing

public void init(){
  frame.removeNotify();
  frame.setUndecorated(true);
  frame.addNotify();
  super.init();
}

The only drawback is… I can’t move the sketch window after doing this! Which means I should run my sketches twice for each one, first time comment the magic codes out and adjust the location, then close it and bring the magic codes back, and then run it again…

Viva la vie.

resources: 1, 2, 3

ICM_Video_Let’s have Fun!

OpenCV Library

OpenCV_mushroom

Mushroom

Just tweaking around Daniel Shiffman’s LiveFaceDetect example with OpenCV library. Photoshopped off the face of Mushroom. And I’m proud that I mapped the position and the scale well! So FIT hahaha. Below is my mushroom hat mapping code.

if (faces != null) {
    for (int i = 0; i < faces.length; i++) {
      // image size: 500
      // maps image size with face scale
      float w = map(img.width, 200, 1, 1, faces[i].width);
      float h = map(img.height, 200, 1, 1, faces[i].height);

      image(img, faces[i].x+faces[i].width/2-(w)/2, faces[i].y-(h)/2, w, h);
    }
  }

And here’s the video for it. Fun!


ICM_ToxiclibsTest_VerletString2D

pic3pic4


pic1

pic2


pic7pic6


Ahhhh failed to create the electrons flow in light bulb. Planed to

  1. add some particles around strings
  2. restrain patterns to  fit within the lightbulb, using different canvas

Things worth mentioned:

  • I  used keyPressed() to change the gravity. Kill the original gravity and use “A, W, D, S” keys to control the direction of force.
ParticleBehavior2D b = physics.behaviors.get(physics.behaviors.size()-1);
physics.removeBehavior(b);
if (key == 'a') {
physics.addBehavior(new GravityBehavior(new Vec2D(random(-0.3), random(-0.05, 0.05))));
}
else if (key == 'w') {
physics.addBehavior(new GravityBehavior(new Vec2D(random(-0.05, 0.05), random(-0.3))));
}
else if (key == 'd') {
physics.addBehavior(new GravityBehavior(new Vec2D(random(0.3), random(-0.05, 0.05))));
}
else if (key == 's') {
physics.addBehavior(new GravityBehavior(new Vec2D(random(-0.05, 0.05), random(0.3))));
}
  •  Use the color function of Toxiclibs, measure the direction of the spring and then map it into 0~1, and then some crazy codes to set up the color of stroke.
for (VerletSpring2D s: strings) {
  float currHue = map(s.b.sub(s.a).heading(), -PI, PI, 0, 1);
  stroke(TColor.newHSV(currHue, 1, 1).toARGB());
  line(s.a.x, s.a.y, s.b.x, s.b.y);
}


Original version, without vertex to fill the mesh. Looks like seaweeds.


Looks like worms.


And here are some tutorials and examples I found useful!

  1. Nature of Code by Daniel Shiffman
  2. SpringPlay by Justin Pinkney
  3. creativeapplications